

April 8, 2020
Eight Tips and Tricks to Wedding Flatlays
Imagine you arrive on sight to your wedding and see that your couple has put aside a bunch of details to capture. So how do you start? Have you tried to style and shoot a few flatlays but they just were not coming together and you are not sure what went wrong? Styling flat lays is actually easier then you think and it’s so much fun!
Today I’m sharing steps to creating the flatlays you see on my account @jessicajaccarinophoto that I get paid to do for couples and for brands in my photography business. Keep reading to learn these 8 steps to creating engaging flaylays.
Step One: Begin a Flaylay With Purpose
Strong flatlays always start with being clear on your why. What are you trying to accomplish with your flatlay? Are you trying to show a wedding invitation’s detail? Are you trying to emphasis on a beautiful wedding ring? What’s the story you’re sharing with your flatlay? Your why is the foundation of your flatlay and all the decisions you make when creating it should be based on your why.

Step two: Choose a Clean Background
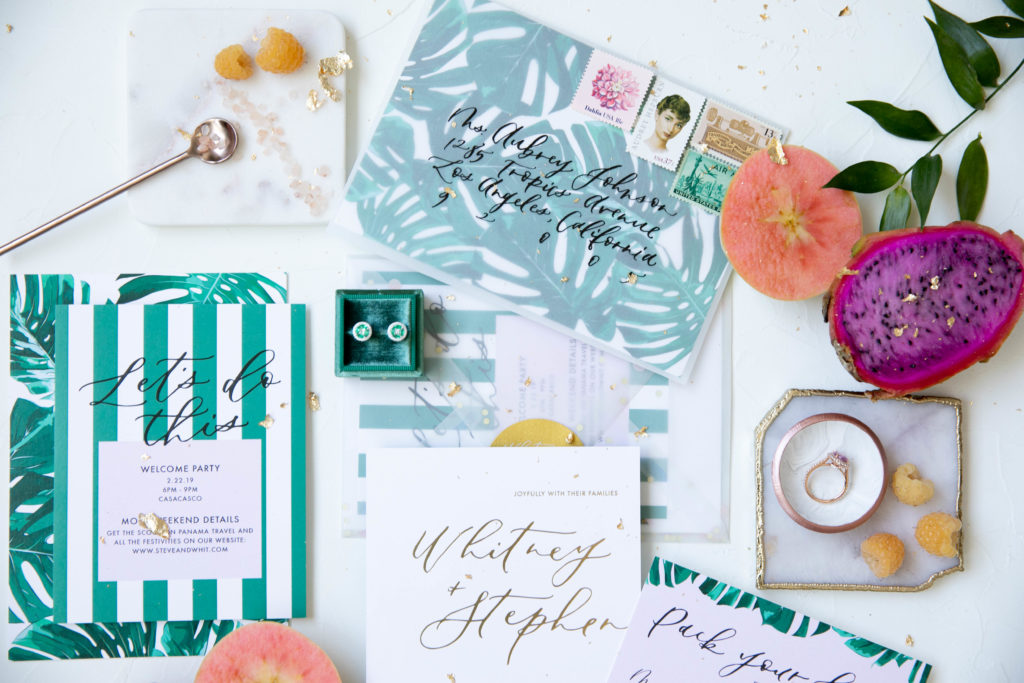
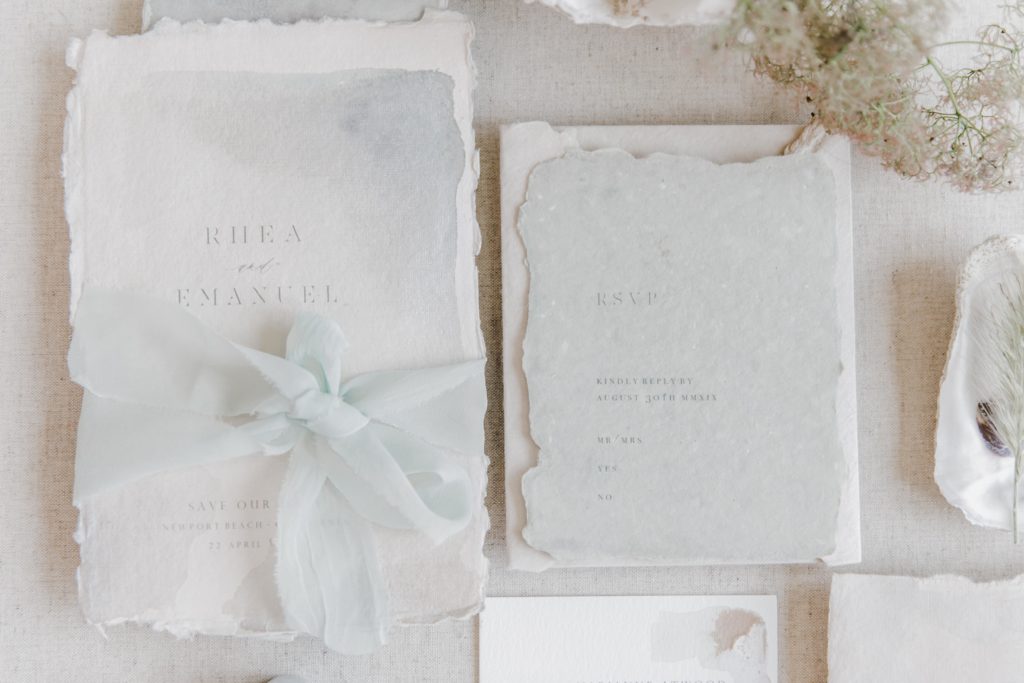
Clean, uncluttered backgrounds are the best and easiest way to give your flatlay more impact. Avoid busy patterns or bold colored backgrounds because they’re distracting and compete with the objects in your flatlay. I like to use style boards for my flatlays and I bring them to my weddings and shoots. Here are a few of my favorite boards;
Heirloom Bindery
Locust Collection
The Styling Mat
Suzy Pierce
Chasing Stone

You probably already have a ton of great background options lying around your home or look for then at the venue. White bed sheets, wood tables, neutral colored floors, and marble countertops are popular because they’re clean and readily available. You can also paint wood surfaces over and over again and or canvases. The key is to choose a background that can act as a blank canvas.
Step Three: Light Your Flatlay
Natural light is the best way to light your flatlays. It’s generally available everywhere. The best natural light is next to a window on the shady side of the venue or outside in the shade. The key is to avoid direct rays of sunlight so you don’t get harsh shadows and extreme contrast in your shot.
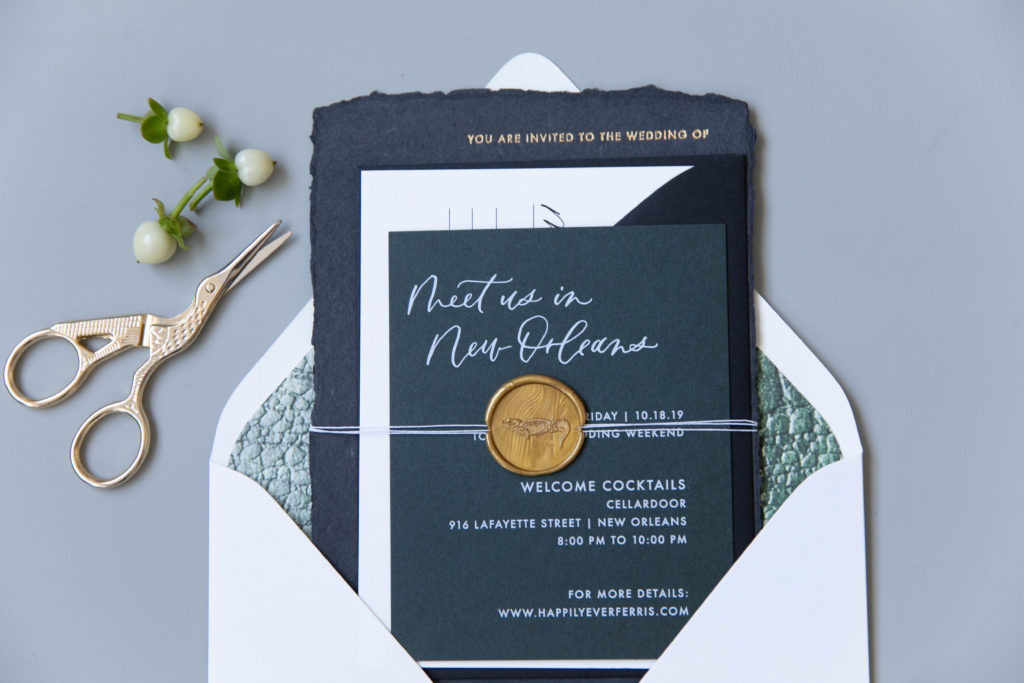
Step Four: Place Your Focal Subject
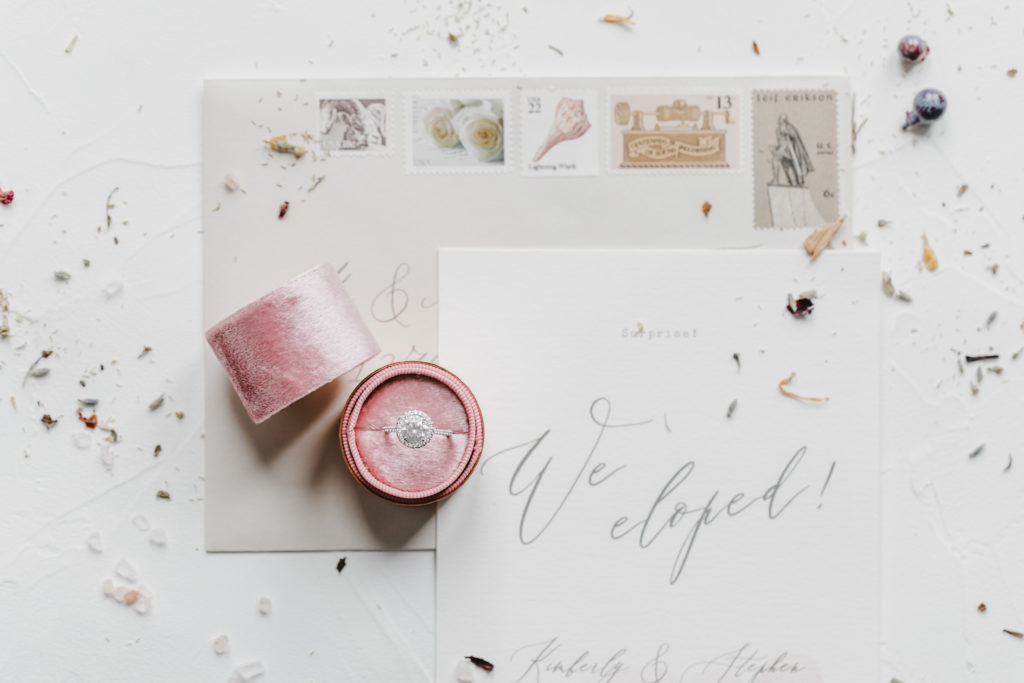
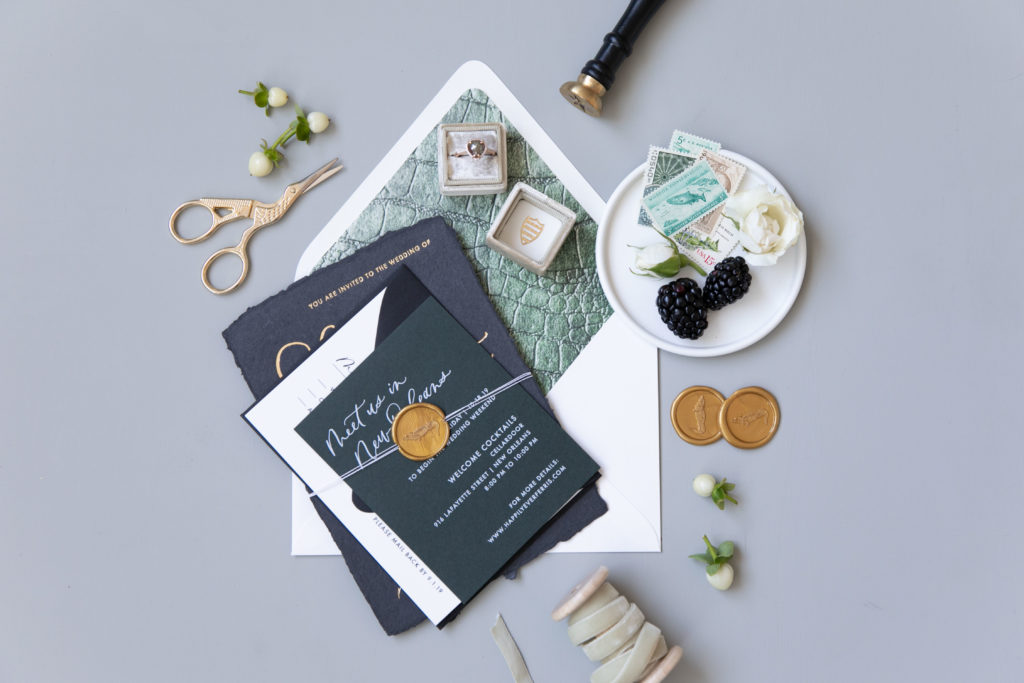
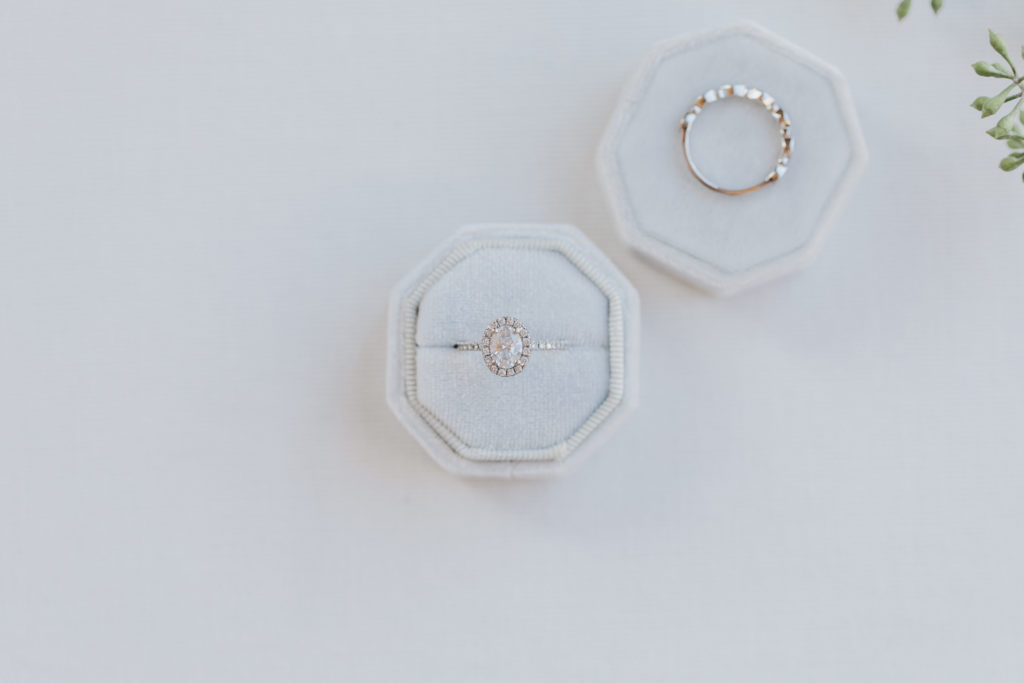
Most flatlays have a focal subject such as a ring box, invitation suite, shoes, jewelry, etc. Many times at a wedding I will do several flaylays for different important pieces of the story and then add them all together at the end.
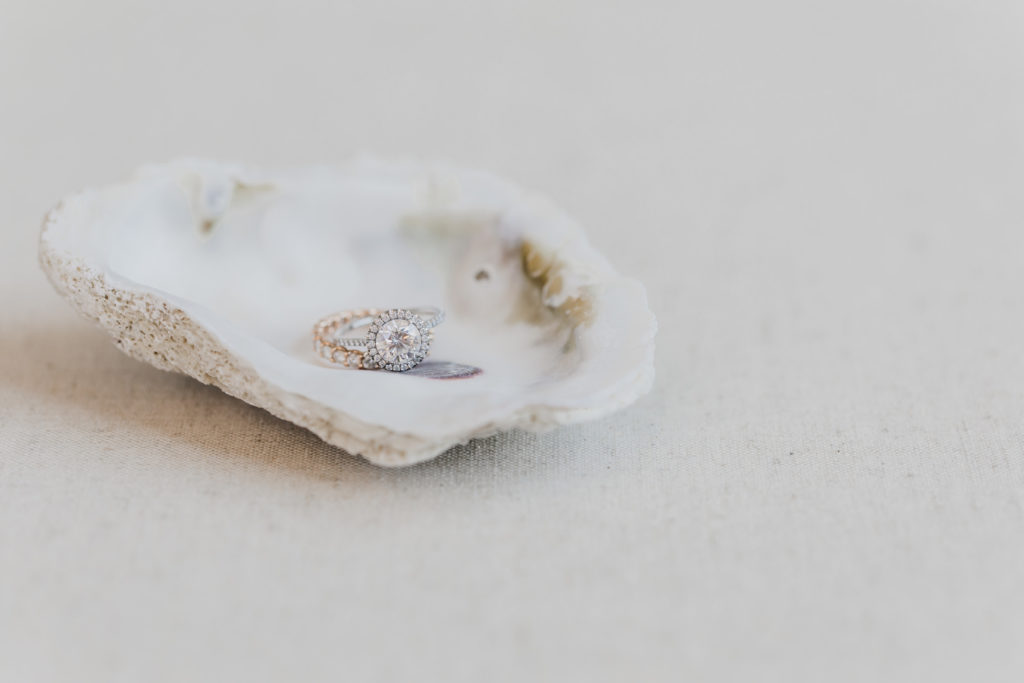
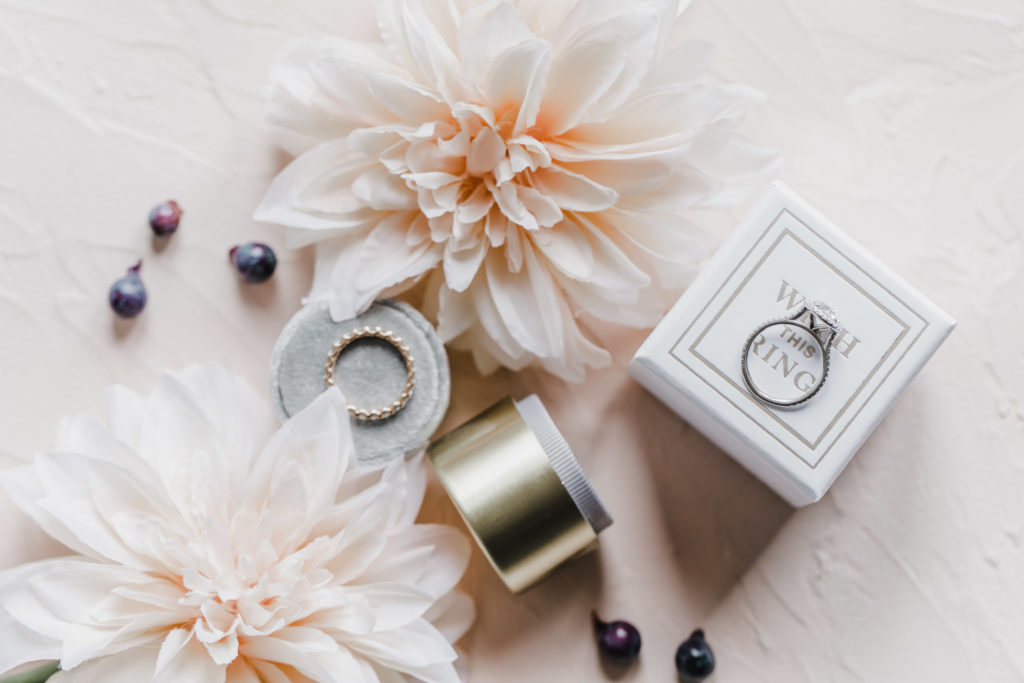
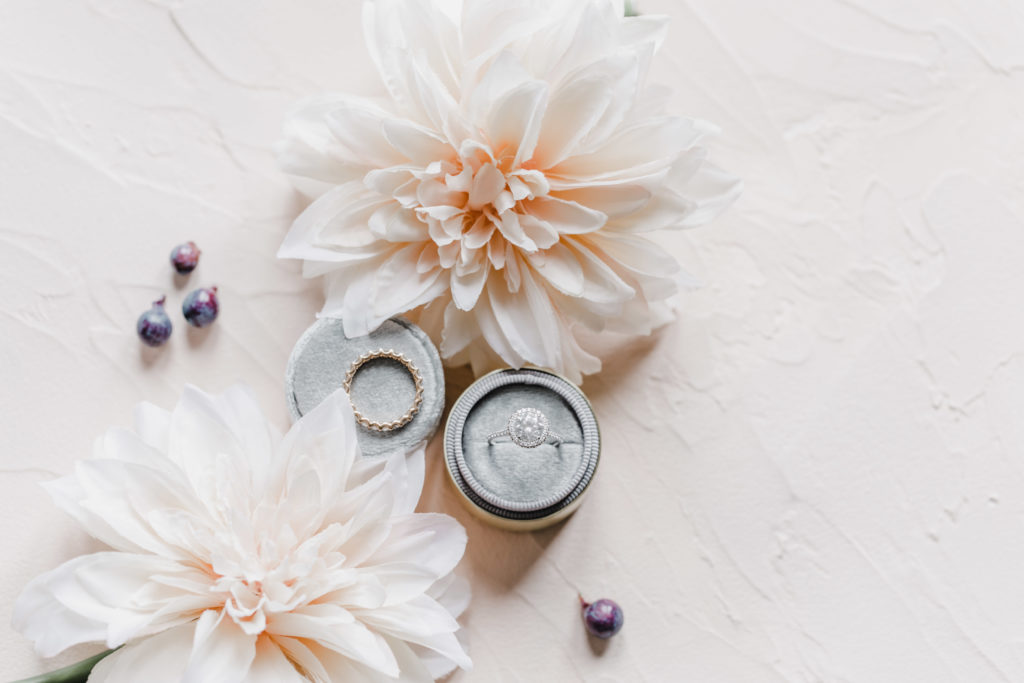
Start styling your flatlay by placing the highlighted piece first and then adding the other major elements in. So if your subject is a ring in a ring box, the other major elements might be florals, ribbon and loose petals or greenery. Play around with how your highlighted subject relates to the other major elements in your composition. Together they’ll act as the framework for the smaller, more detailed props.
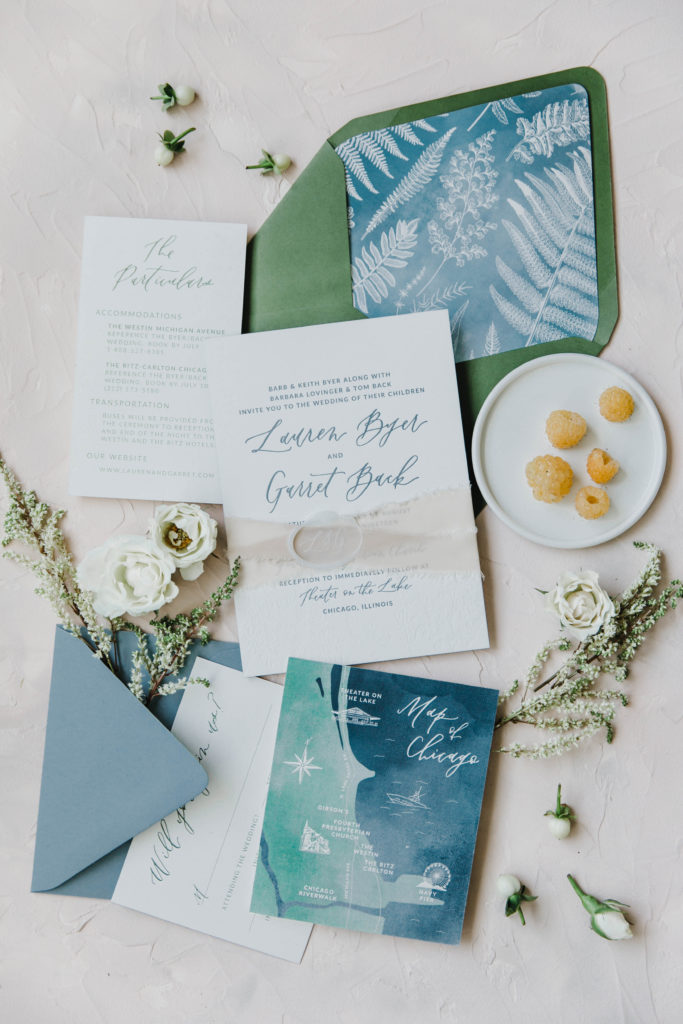
Step Five: Place Your Secondary Props
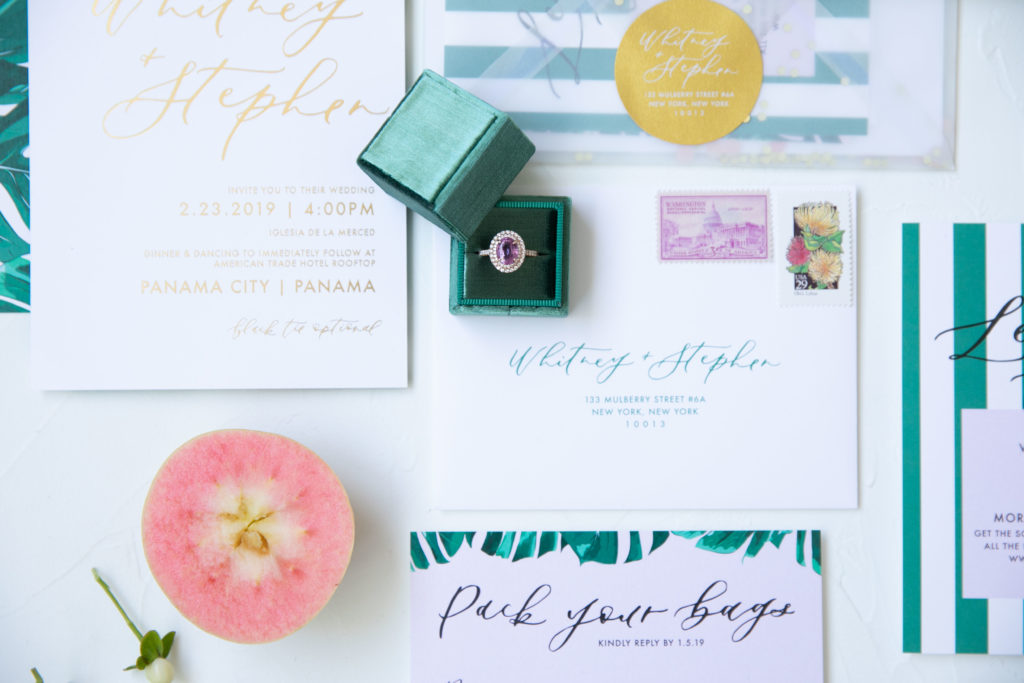
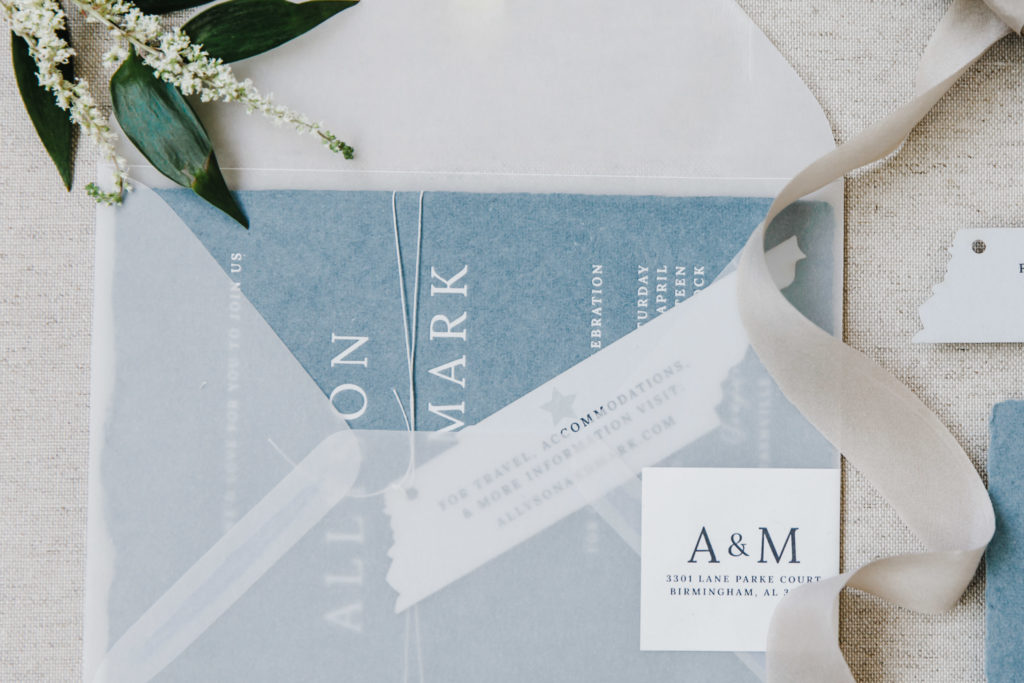
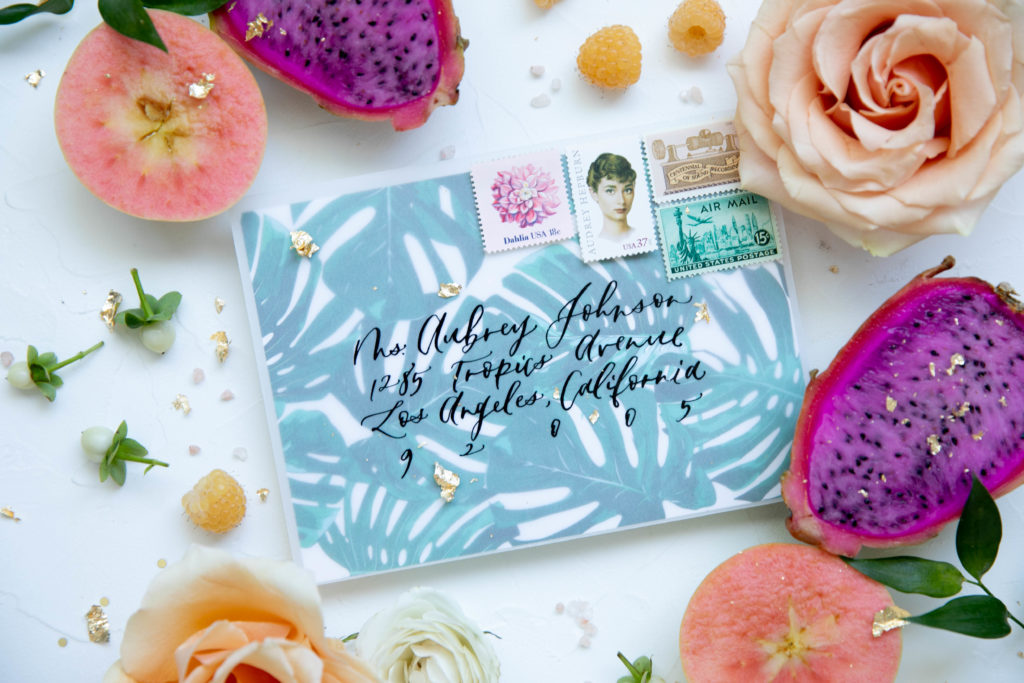
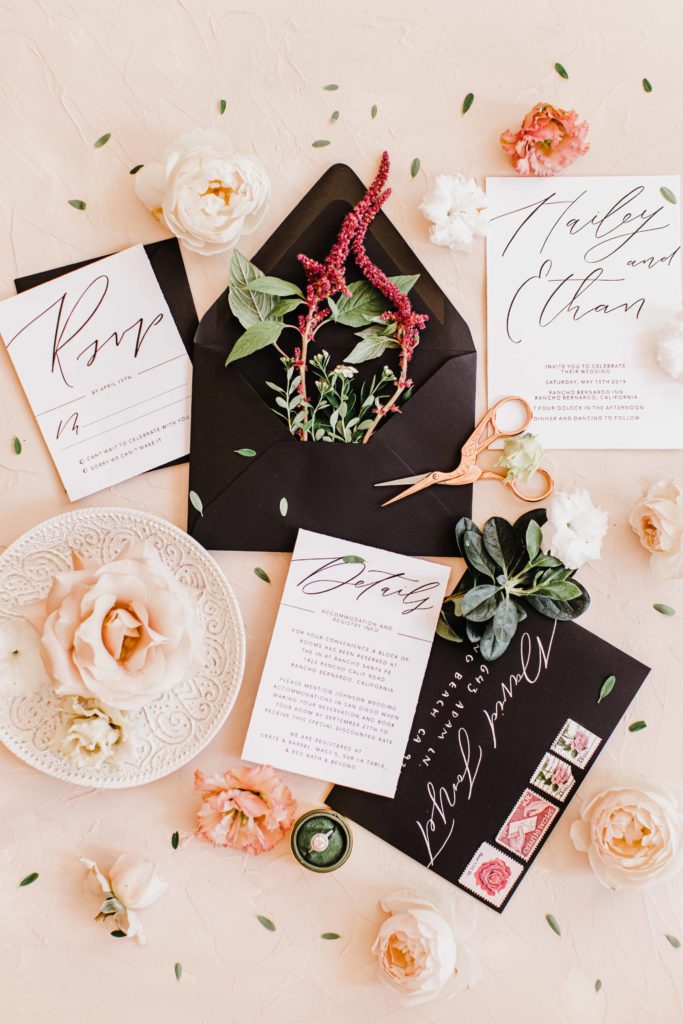
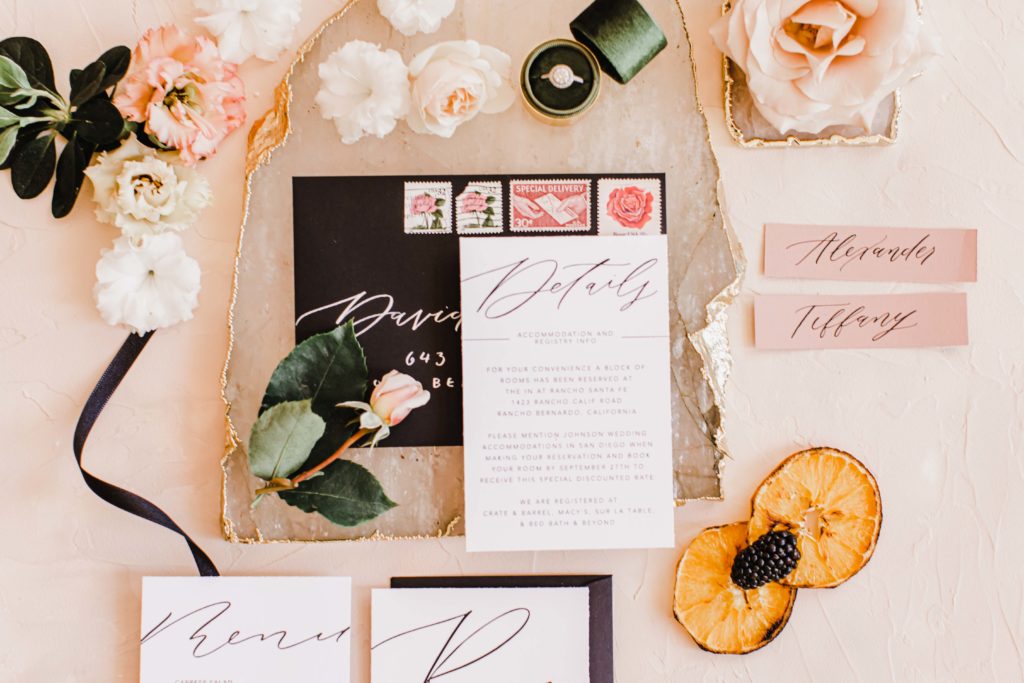
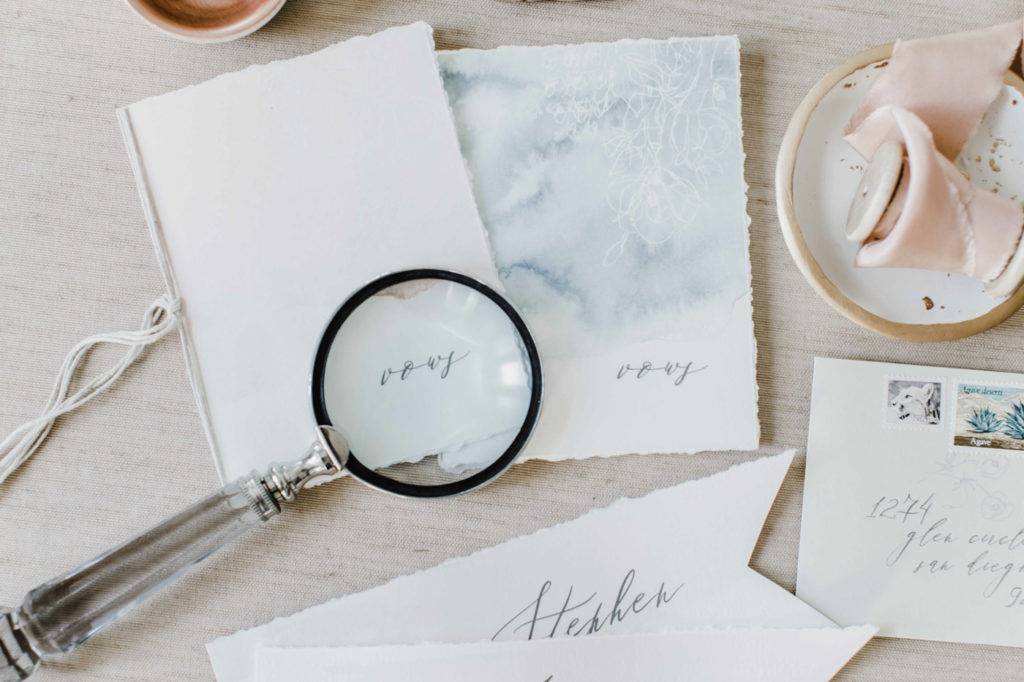
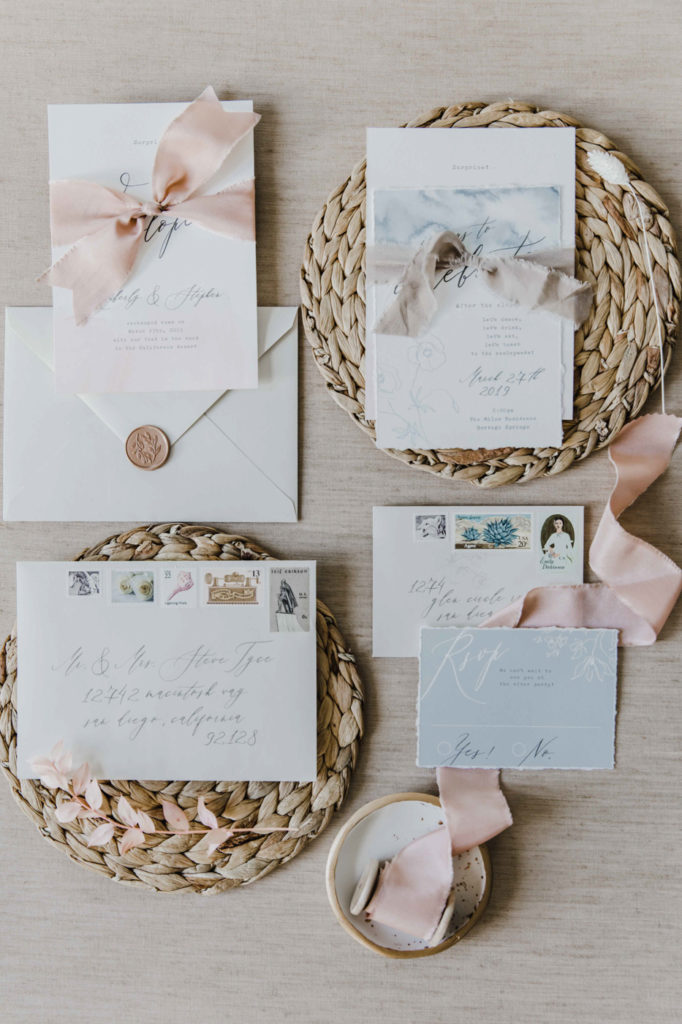
If your highlighted subject is the most important piece of your flatlay, then the secondary props are the supporting pieces and extras in your story. Choose props that support your story by adding context to your subject without stealing the show. So if your subject is stationery, then your supporting props could be stamps, dishes, ribbon, and florals.
Place your secondary props around the major elements of your flatlay to fill in the gaps. Play around with their position and angle to see how they best fit into the overall composition. The idea is to balance the spacing of your props in your flatlay so your details don’t overwhelm your highlighted subject.
*Etsy is a great resource for secondary flatlay props
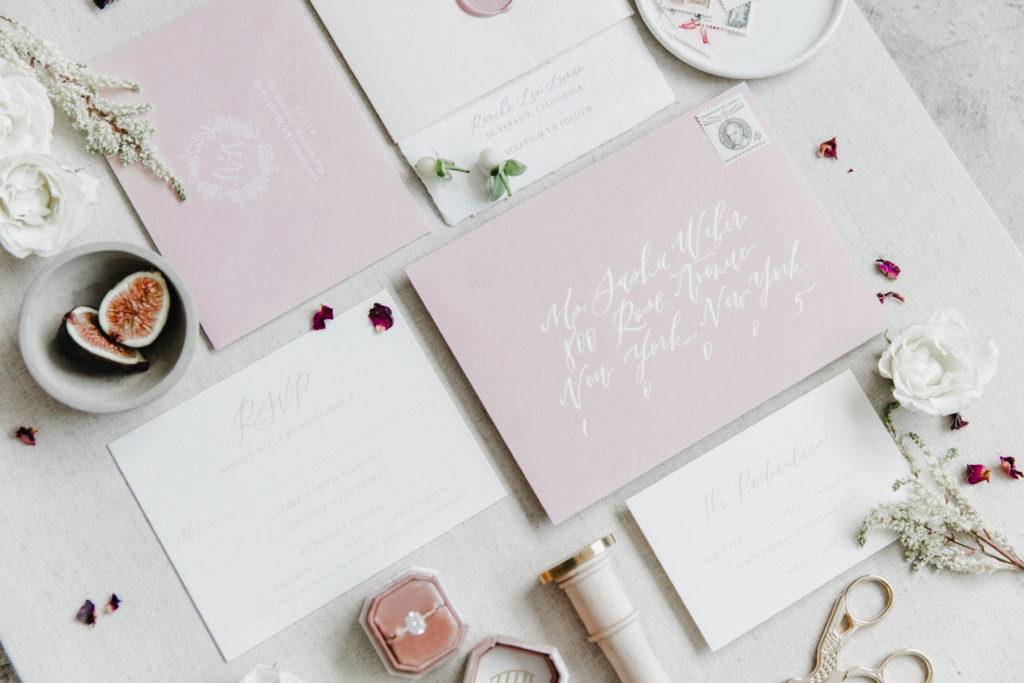
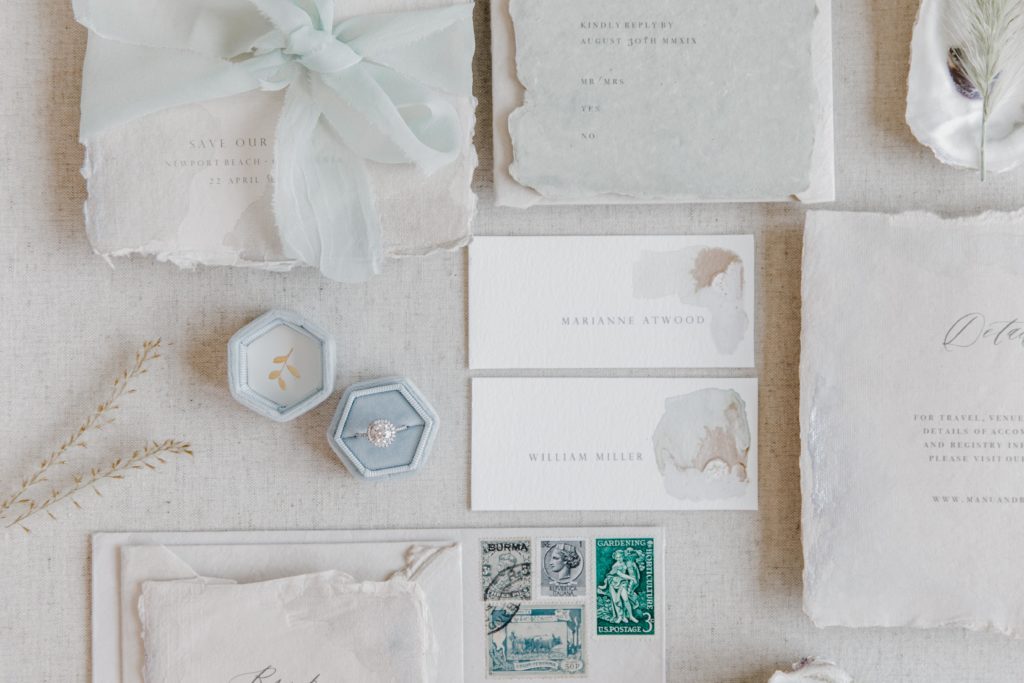
Step Six: Stick to a Simple Color Palette
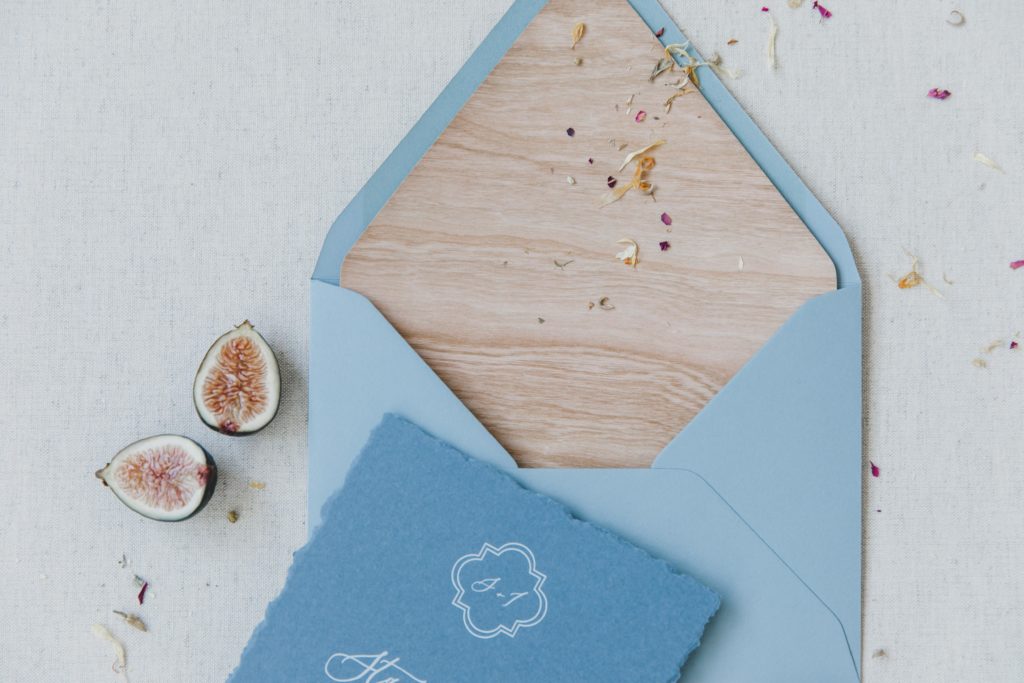
If you’re new to working with color palettes, stick to only 2-3 colors that go well together or look for complimentary colors in the invitation suite. As an added tip: light blush, pale blues, grays and whites are neutral shades that go well with most wedding color palettes.


Step Seven: Shooting Your Flatlay

Flatlays are shot from a bird’s eye view so hold your camera directly above the middle of your flatlay. Stand on a chair or ladder if you need to get higher. The goal is to get your camera parallel to your flatlay so the lens is aimed straight down. I use a variation of lenses to get different looks and atheistic.
*Make sure you have enough natural light to support a higher F-stop and shutter speed.
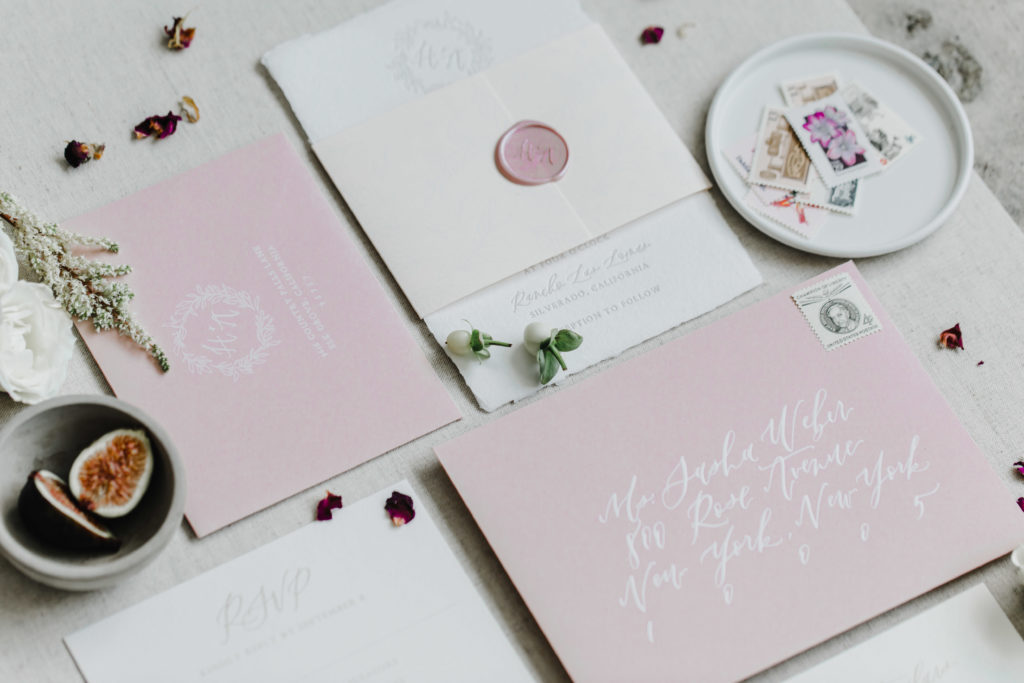
Once you’ve got your shot, try shooting a few variations for bonus content. If you’ve spent valuable time and effort to style the perfect flatlay, get more bang for your buck by getting more shots. Shoot your flatlay from a different angle, use a different crop, or swap out a few key props for new ones. In my opinion less is more. I will start super minimal and add ending with some crazy shots with lots of detail and angles.

* I use lens caps for risers.
Step Eight: Show up wedding ready
Just like any skill, the more you practice making flatlays, the better you’ll become. There’s really no right or wrong way in photography, so use these steps only as a guide. Once you get more comfortable with how you like to build your flatlays, experiment with new methods and ideas. Overtime, you’ll develop a look and feel to your work based on how you like to prop, light, and edit your images, which will create your own style.
I don’t count on the couple to have the detail I’m looking for so I make sure I bring my own style kit and boards to each wedding. I always remind the couple to bring any detail they want photographed including any special family heirlooms etc. I build in the time to style and photograph these details if it is important to the couple. If you feel like you have a block on the styling clean the board and start completely over.

